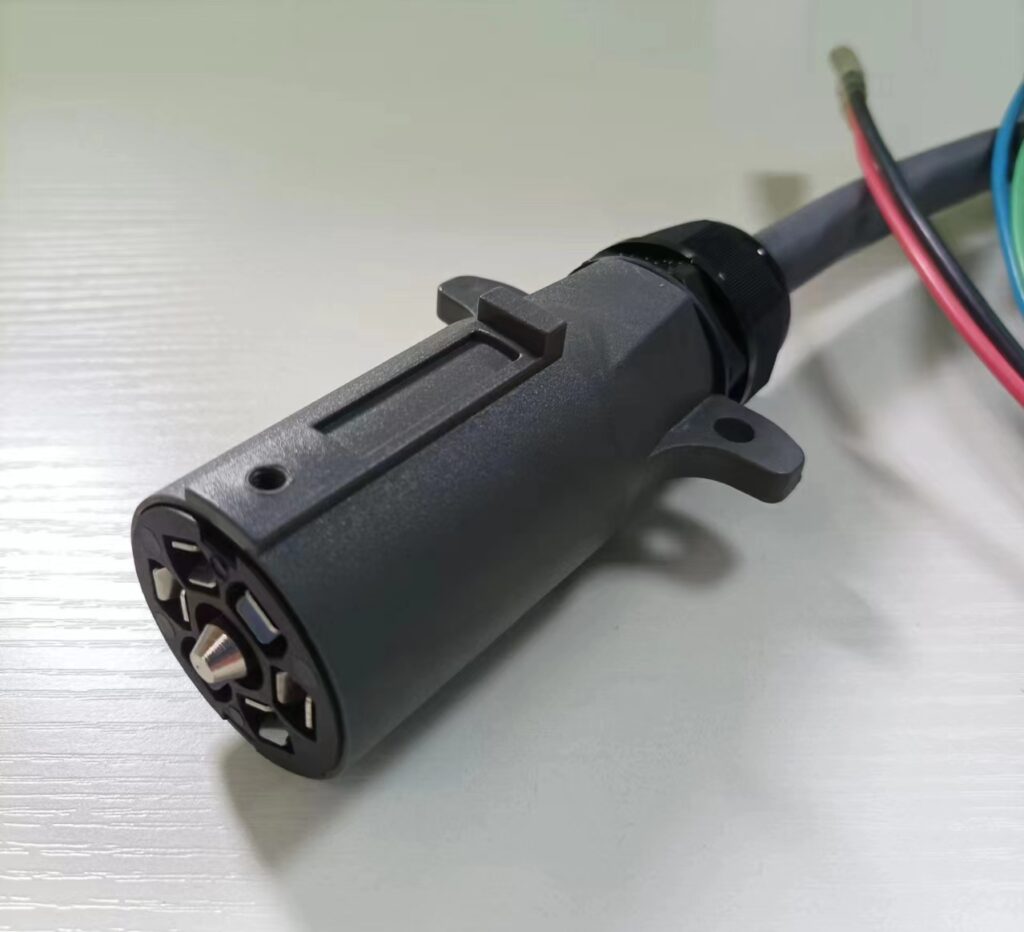
Upgrading your trailer’s electrical system can significantly enhance its safety, reliability, and functionality. Whether you’re looking to add new features, improve existing components, or ensure compliance with current standards, a comprehensive upgrade can offer numerous benefits. This guide will walk you through the steps involved in upgrading your trailer’s electrical system, from planning and selecting components to installation and testing.
Assessing Your Current System
Evaluate the Existing Setup:
- Inspection: Conduct a thorough inspection of your current wiring harness, connectors, lights, and other electrical components. Look for signs of wear, corrosion, and damage.
- Identify Weak Points: Determine which parts of the system are outdated, faulty, or no longer meeting your needs.
- Documentation: Document the current wiring layout and components to help with the planning of the new system.
Key Points:
- Age and Condition: Consider the age and overall condition of your trailer’s electrical system. Older systems are more prone to failures and may not support modern features.
- Functionality Needs: Identify any additional functionality you need, such as electric brakes, auxiliary power, or advanced lighting systems.
Planning the Upgrade
Set Your Goals:
- Safety: Aim to enhance the safety of the electrical system by using high-quality materials and ensuring proper installation.
- Functionality: Determine the features you want to add or improve, such as LED lighting, backup cameras, or power inverters.
- Compliance: Ensure that the upgraded system meets all relevant regulations and standards, such as those set by the Society of Automotive Engineers (SAE).
Create a Wiring Diagram:
- Layout Planning: Sketch a detailed wiring diagram for the upgraded system, including all components and connections.
- Component Selection: Choose the components needed for the upgrade, such as wiring harnesses, connectors, lights, and control modules.
Selecting High-Quality Components
Wiring Harnesses:
- Material Quality: Opt for wiring harnesses made from high-quality materials like tinned copper for improved conductivity and corrosion resistance.
- Insulation: Choose harnesses with durable insulation materials like PVC or cross-linked polyethylene (XLPE).
Connectors and Terminals:
- Waterproof Connectors: Use waterproof connectors to protect against moisture and corrosion.
- Heavy-Duty Terminals: Select heavy-duty terminals that can handle higher electrical loads and provide secure connections.
Lighting:
- LED Lights: Upgrade to LED lights for better brightness, energy efficiency, and longevity.
- Position and Clearance Lights: Ensure all necessary lights are included to meet safety and regulatory requirements.
Control Modules:
- Brake Controllers: Install a high-quality brake controller for trailers with electric brakes.
- Smart Control Systems: Consider smart control systems that offer advanced features like real-time diagnostics and remote monitoring.
Installation Process
Preparation:
- Gather Tools and Materials: Ensure you have all the necessary tools and materials for the installation, including wire strippers, crimping tools, electrical tape, and heat shrink tubing.
- Safety First: Disconnect the trailer from the towing vehicle and ensure there is no power running through the system during installation.
Step-by-Step Installation:
- Remove Old Components: Carefully remove the old wiring harness, connectors, and other components. Document the process to help with the installation of new components.
- Install New Wiring Harness: Follow the wiring diagram to install the new harness. Secure the harness with zip ties or cable clamps to prevent movement and damage.
- Connect Components: Attach the new connectors, lights, and control modules according to the wiring diagram. Use heat shrink tubing and electrical tape to insulate connections.
- Ground Connections: Ensure all ground connections are securely attached to clean, bare metal surfaces to prevent grounding issues.
Testing:
- Reconnect Power: Reconnect the trailer to the towing vehicle and power up the electrical system.
- Functionality Check: Test all electrical components, including lights, brakes, and any new features, to ensure they are working correctly.
- Troubleshooting: Address any issues identified during testing. Double-check connections and wiring if problems persist.
Maintenance and Upkeep
Regular Inspections:
- Visual Checks: Periodically inspect the wiring harness, connectors, and lights for signs of wear, damage, or corrosion.
- Functional Testing: Regularly test the electrical components to ensure they continue to operate correctly.
Cleaning and Protection:
- Clean Connectors: Use electrical contact cleaner to keep connectors free of dirt and corrosion.
- Protective Measures: Apply dielectric grease to connectors and use protective coverings for exposed wiring.
Conclusion
Upgrading your trailer’s electrical system is a worthwhile investment that enhances safety, functionality, and reliability. By carefully planning the upgrade, selecting high-quality components, and following proper installation procedures, you can ensure that your trailer’s electrical system meets your needs and complies with industry standards. For high-quality wiring harnesses and components, visit WiringLabs and explore our range of reliable and durable products designed to support your trailer’s electrical system upgrades.


