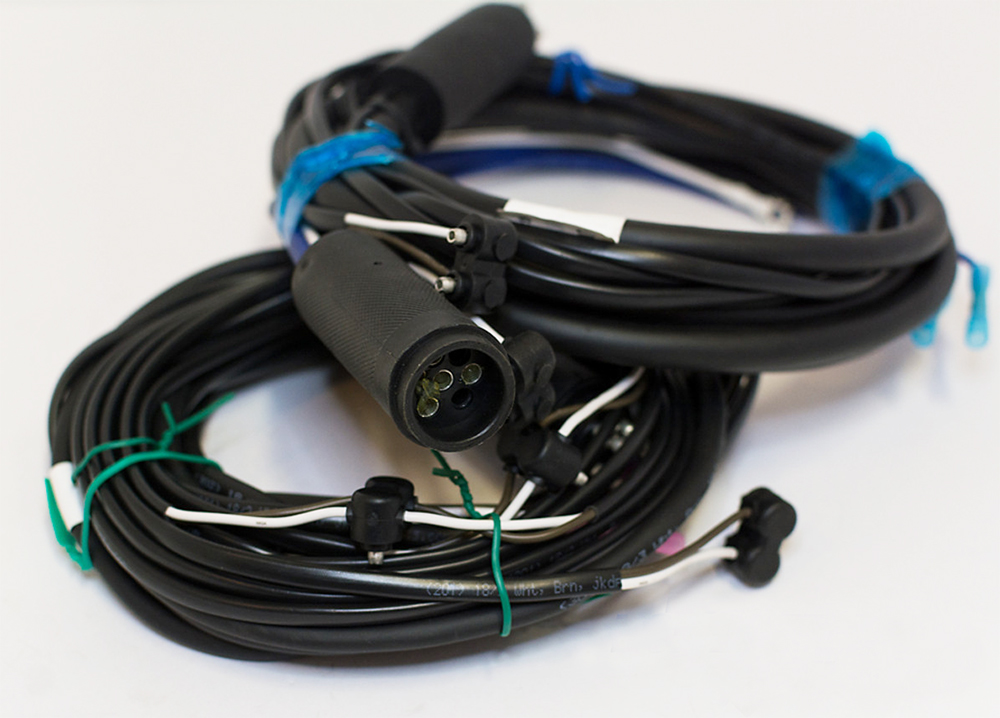
When it comes to trailer wiring, one size does not fit all. Customizing your trailer wiring harness can provide numerous benefits, including enhanced safety, improved performance, and the ability to meet specific requirements of your towing setup. This blog post will guide you through the essential aspects of customizing your trailer wiring harness.
Why Customize Your Trailer Wiring Harness?
1. Tailored Fit Custom wiring harnesses are designed to fit the exact specifications of your trailer, ensuring a perfect fit and seamless integration with your existing electrical system. This tailored approach reduces the risk of loose connections and potential wiring issues.
2. Enhanced Performance Customized wiring harnesses can include upgraded materials and components that offer better performance and durability compared to standard, off-the-shelf options. This can be particularly beneficial for trailers that are used in demanding environments or for heavy-duty applications.
3. Additional Features By customizing your wiring harness, you can add features that are not available in standard models. This might include additional lighting, specialized connectors, or integrated braking systems tailored to your specific needs.
Key Considerations for Customizing Your Trailer Wiring Harness
1. Assess Your Needs Before you start customizing your wiring harness, assess your specific needs. Consider the type of trailer you have, the electrical components you need to power, and any additional features you require. This will help you determine the necessary specifications for your custom harness.
2. Choose the Right Materials Selecting high-quality materials is crucial for ensuring the durability and reliability of your custom wiring harness. Opt for materials that are resistant to corrosion, moisture, and wear. Common choices include:
- Conductors: Copper or tinned copper for excellent conductivity and corrosion resistance.
- Insulation: PVC or cross-linked polyethylene (XLPE) for durability and resistance to environmental factors.
3. Plan the Layout Carefully plan the layout of your wiring harness to ensure it fits your trailer’s design. Consider the length of the wires, the placement of connectors, and the routing of the harness to avoid interference with other components. Use protective coverings, such as split loom tubing, to shield the wires from physical damage.
4. Select Appropriate Connectors Choose connectors that match your trailer’s electrical system and the towing vehicle. Ensure the connectors are compatible with the electrical load and provide a secure, reliable connection. Common types of connectors include:
- 4-pin connectors: For basic lighting functions.
- 7-pin connectors: For trailers with additional features such as electric brakes and auxiliary power.
5. Integrate Additional Features Consider integrating additional features into your custom wiring harness to enhance functionality. Some options include:
- LED lighting: For brighter, more energy-efficient lighting.
- Integrated braking systems: For improved safety and control.
- Smart wiring systems: For monitoring and managing the trailer’s electrical components.
Step-by-Step Guide to Customizing Your Trailer Wiring Harness
Step 1: Gather Materials and Tools Collect all necessary materials and tools, including wires, connectors, insulation, protective coverings, and any additional components you plan to integrate. Ensure you have wire strippers, crimping tools, and heat shrink tubing for secure connections.
Step 2: Design the Harness Layout Sketch a detailed layout of your wiring harness, indicating the length of each wire, the placement of connectors, and the routing path. This plan will serve as a guide during the assembly process.
Step 3: Cut and Strip the Wires Cut the wires to the required lengths based on your layout. Use wire strippers to remove the insulation from the ends of the wires, exposing the conductors for connection.
Step 4: Assemble the Connectors Attach the connectors to the ends of the wires using crimping tools. Ensure the connections are secure and free from any loose strands. Apply heat shrink tubing over the connections for additional protection.
Step 5: Route and Secure the Wires Route the wires along the planned path on your trailer, securing them with zip ties or cable clamps. Use protective coverings to shield the wires from physical damage and environmental exposure.
Step 6: Test the System After assembling and installing the custom wiring harness, test the system to ensure all electrical components are functioning correctly. Use a multimeter to check for continuity and verify that the connectors are providing a stable connection.
Benefits of Professional Customization
While DIY customization is possible, working with a professional service like WiringLabs can provide several advantages:
- Expertise: Professional technicians have the experience and knowledge to create custom wiring harnesses that meet industry standards and specific requirements.
- Quality Assurance: Professional customization ensures that high-quality materials and components are used, resulting in a durable and reliable wiring harness.
- Warranty: Many professional services offer warranties on their custom products, providing peace of mind and protection against defects.
Conclusion
Customizing your trailer wiring harness offers numerous benefits, from tailored fit and enhanced performance to additional features that meet your specific needs. By carefully planning the layout, selecting high-quality materials, and following a detailed assembly process, you can create a wiring harness that ensures the safety and reliability of your trailer’s electrical system. For professional customization services, consider reaching out to WiringLabs, where experts can help you design and assemble the perfect wiring harness for your trailer.
